How to Change Division Logo
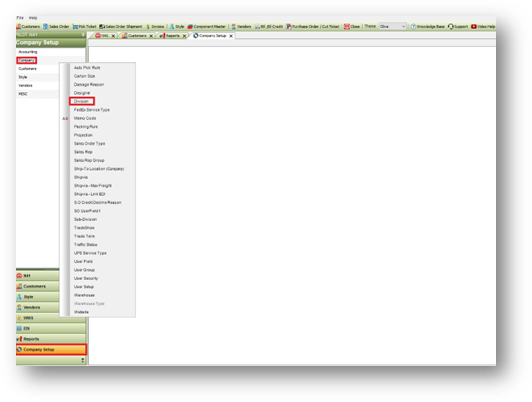
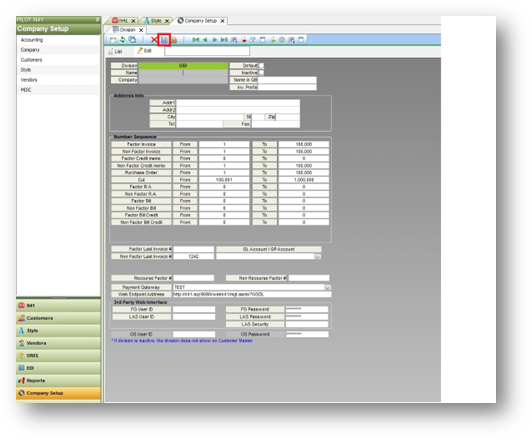
- On your N41 application go to Company Setup/Company/Division.
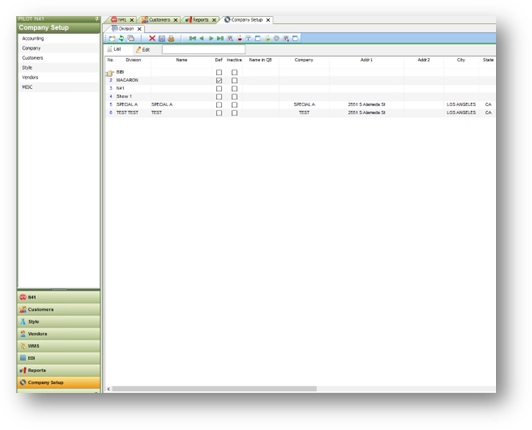
- Select the Division (double click) you want to update.
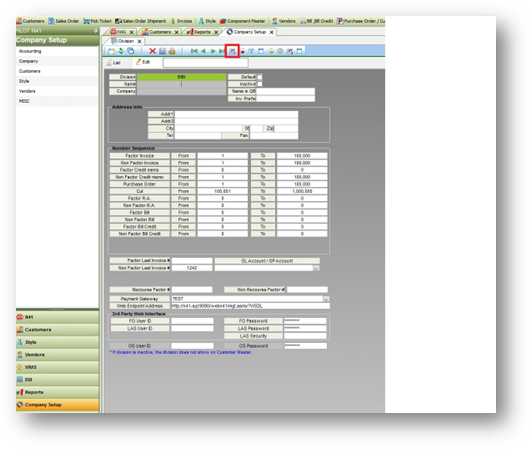
- Click “Upload Division Logo”.
- Select the “.JPEG” file saved on your system unit then select “Open”.
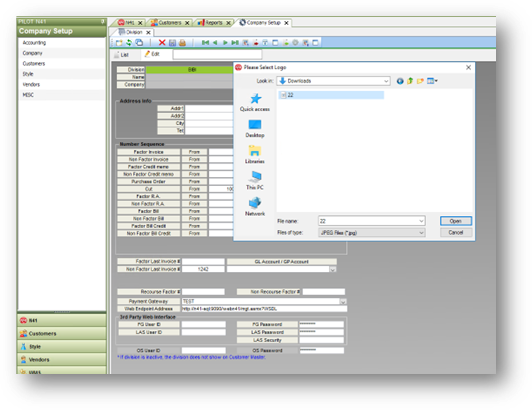
- Once done, it will be saved on your N drive. Source path: N:\NVLT\Resource\Logo\.
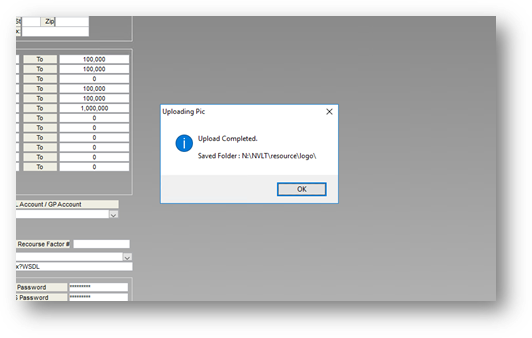
- After clicking “OK”, make sure to save the changes and then re-login.
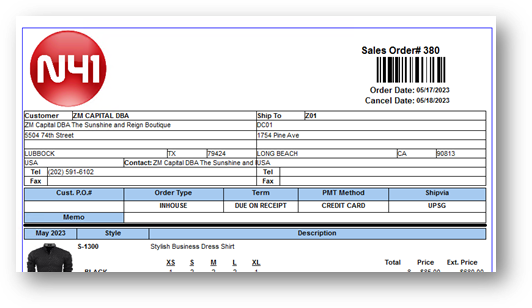
- You can test print a SO, Invoice or a Pick ticket and check the newly uploaded logo.
Related Articles
How to change login password
1. Go to Company Setup > Company > User Security 2. Double click on the user to change the password
Apply Credit Memo to open Invoices
1. Go to Customers [1] Go to Receive Payment [2] Click New [3] 2. Select “Customer”, “Division”, “Payment Method” from the dropdown If the chosen customer has open invoices, the list of invoices will appear Click “CREDIT” button on the invoice you ...
How to create a “New Style”
How to create a “New Style”. 1 Create a New Style. 2 How to add colors. 3 How to apply to other color. 4 How to duplicate a style. Appendix. Column Lists on Style Master. 1 Create a New Style Creating this crucial list is the backbone of your ...
How to manage user security in N41
1. Go to Company Setup, Company, User Security DO NOT USE User Setup 2. To create a new user a. Click New button to create a new user Or b. Double click the user which you want to duplicate from c. Click Duplicate 3. To manage a User or User Group, ...
Create payments
Go to the customers [1] Click “Receive Payments” [2] Click “New” Select the Customer Select the “Transaction Type” Select the “Division” and input necessary information Input the DC % (if you select Write-off, this is not available) Check invoices ...